I’m on my length retention journey. I love a good wash and go, but I’ve been experiencing more and more breakage and single strand knots over the last few months. Unfortunately, my current lifestyle doesn’t leave me with as much time as I used to have back when I was in school to dedicate to my hair. I simply don’t have 3+ hours every weekend to sit and install a style.
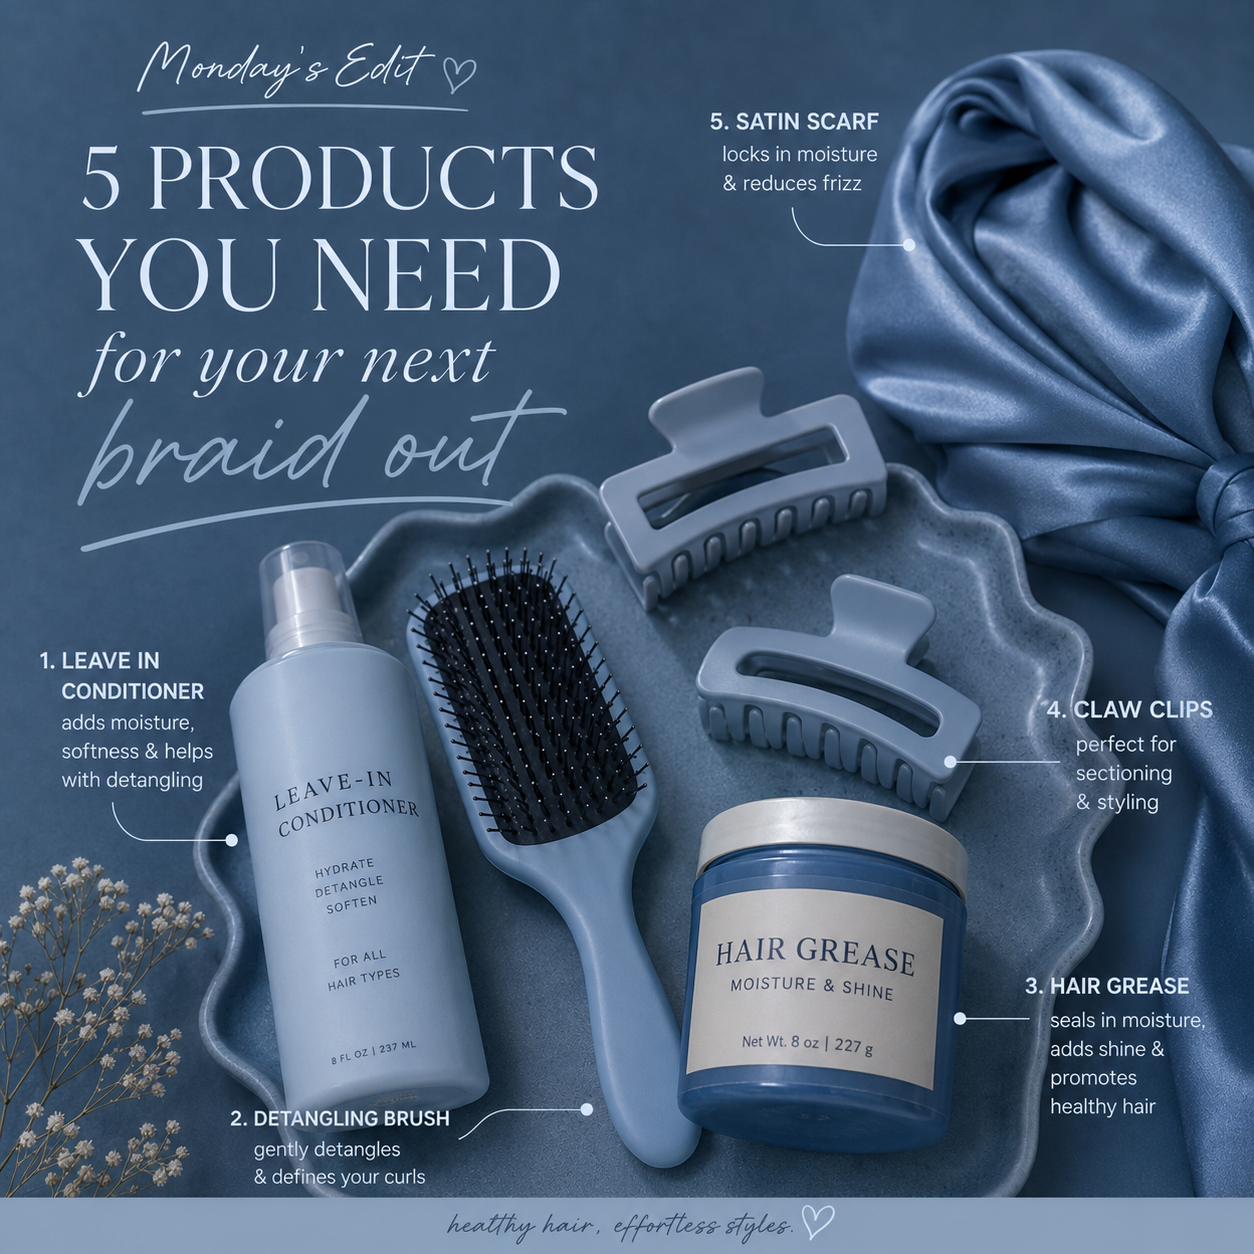
Enter the braid out. I can leave my hair in the braids for a few days, then take out the braids to enjoy my curls for a few days before starting the cycle all over again. Last week I tried a braid out for the first time in what feels like years and I got results I absolutely loved. I didn’t feel the need to spritz my ends with water and extra conditioner midweek and when I washed my hair yesterday I didn’t have as many tangles to work through as I usually do. Below are 5 products I used that helped give me those results.
I forgot to take a picture of the final results, so the next time I do a braid out (probably next weekend), I’ll document the whole week — from installation to takedown and everything in between.
This post may contain affiliate links, which means I may earn a small commission if you shop through them — at no extra cost to you. As always, all opinions and recommendations are my own. As an Amazon Associate I earn from qualifying purchases.
1. A Leave-in conditioner
While I do deep condition my hair every week, I still use a leave in conditioner for added protection. My individual hair strands are extremely fine and fragile, so I look for lightweight leave in conditioners. I’ve tried butters and thicker leave ins, but they leave my hair wayyyyy too weighed down and without movement; so I’ve started to use thinner products like spray leave-ins.
For last week’s braid out, I decided to use the It’s a 10 Silk Express Miracle leave-in. I picked it up at Ulta Beauty a few weeks ago while they were having their BOGO Mini sale (I stocked up on so many products I’ll be happy to share more later!).

The bottle promises to do just about everything: protect color, decrease drying time, add glossy shine, deliver “explosive silkiness” (their words, not mine 😅). But I really only cared about three things: that it’s build-up free, ultra moisturizing, and helps with detangling.
And it delivered on all three. I split my hair into 6 sections and sprayed 1-2 pumps into each one and was easily able to work my fingers through my hair without any snags. My hair felt really soft and well conditioned before moving onto my next step.
2. A Sealant
There has been so much discourse in the natural hair community about oils, butters, and grease to act as sealants to lock in moisture. Again, my hair is super fine and heavy products like butters have not worked for me. I’ve tried oils when doing natural styles, but I’ve never felt like they really keep the moisture in my hair as long as I want. With oils I find that I need to moisturize my hair 2-3 times per week and with all that work I might as well wash my hair and start over!
Enter grease. My mom used to use Blue Magic on my hair back in the day and my hair was THRIVINGGGGGG. Before I started taking care of my hair in middle school, my mom was doing it (or taking me to the salon) every weekend; hair grease was a staple in my routine. Back in the day, my hair was halfway down my back *cries with 3 scoops of hair*. Since I’m on my length retention journey, I decided to bring Blue Magic back into my routine.

It was all the nostalgia I needed from childhood as I sat cross-legged on my bed massaging a light amount of grease into each section. And the key to avoiding build up is to apply the grease with a very, very, very light hand. To make sure I wasn’t applying too much to each section I gently pressed 3 fingertips into the product, warmed it between my hands, and applied to each section. I found this was just enough product to seal in the moisture without being too heavy on my strands.
I’ll say this worked really well for me because my hair felt soft and hydrated from Sunday to Saturday. I’ll definitely be keeping this product (and application method) in rotation.
3. A Brush
Now I know I said earlier that my hair felt really well detangled with just my fingers and my leave-in conditioner, but to ensure that the hair is as smooth as possible before installing my braids I had to run a brush through each section. For this I used my Tangle Teezer for fine, fragile hair.

After finger detangling and applying my sealant, I run through each section a few times with the brush to make sure there are no knots that could ruin the outcome of the style, then start braiding. I think adding in this extra detangling step really helped with clumping the strands of my curly/coily hair to prevent single strand knots and protect the ends. I don’t go a week without using this brush, it is really that good.
4. Hair Clips
I free parted my hair for the braids – split my hair in half down the middle, then into 3 sections on each side. To keep the sections in place, I need my hair clips! To be honest I reach for whatever I can find first LOL, this week it was some small claw clips that I got on Amazon (I think almost every millennial/ Gen Z woman I know owns these claw clips 😂). In an ideal world, I’d have my alligator clips but I just couldn’t find them last week.

I don’t think which type of clip matters, the important thing is keeping the sections separate so that I’m not pulling my hair in all different directions when styling. I’ve done that before and it was impossible to move the braids around because some strands of hair from section A would be in section B; it was just not a pleasant experience. This may also be some user error since I parted my hair with my fingers rather than a parting comb; I’m lazy, what can I say? 🤷🏾♀️
5. A Scarf
Last, but certainly not least, a scarf to tie it all down. I prefer to use a silk or satin scarf, but you do you. Using silk or satin is important because it will help to keep your hair in place without sucking out all that moisture we just put in.
I’ve gotten a number of silk/satin scarves over the years and I’ve learned that my favorite is a large square scarf; I couldn’t find my favorite one so this week instead I used a long rectangular one I had laying around. I have to say, I didn’t think I was going to like this one as much, but she did what she needed to do. It was comfortable to sleep in, had plenty of length to secure around my head without cutting off circulation (if you know, you know), and was a cute accessory to run errands in before I undid the braids in the middle of the week.

I’ve tried braid outs before and absolutely hated the look they gave my hair. But these 5 products definitely helped me have a style that lasted all week while keeping my hair moisturized. Will I make this my go-to style? I’m honestly not sure. At least now, if I decide to try it again, I know exactly what works to get a good result that will last me all week. 🤗
What products do you think I should add to my braid out line up? Are you #TeamOil or #TeamGrease? Sound off below ⬇️!
With love,
Ash ♡
Leave a Reply